Running your school on Alobam
From admitting a new student to printing report cards — here's how your school's day-to-day flows through the platform.
Signing In
Your school administrator receives login credentials directly, or your partner sets up your account during onboarding.
Sign in and land on your dashboard
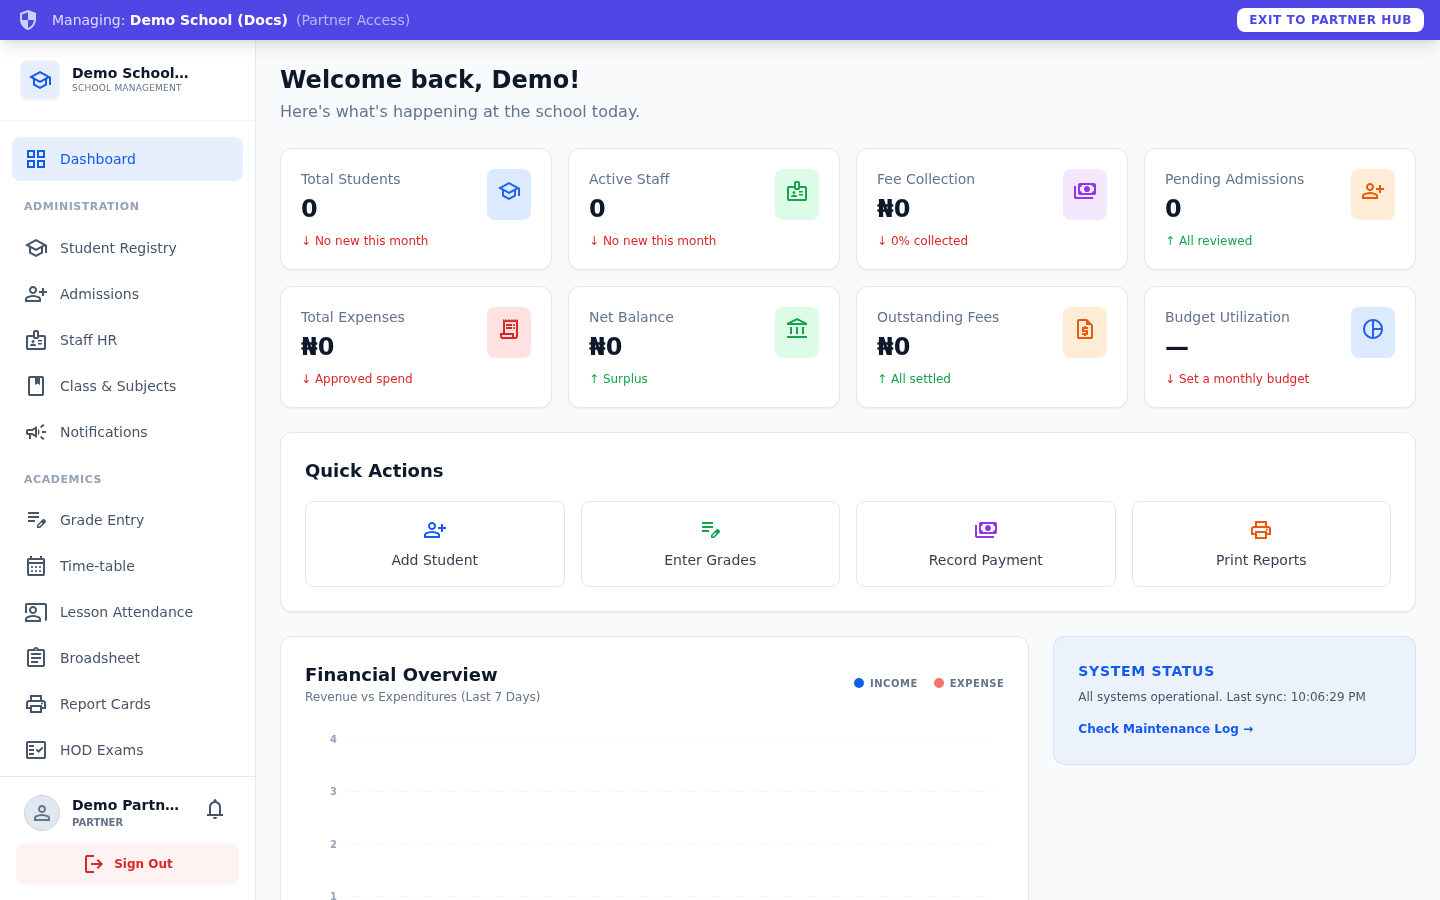
Go to /login, enter your email and password. You'll land on your school's dashboard, scoped entirely to your own school's data — nothing from other schools is ever visible.
Admissions
Take an applicant from first contact through to a fully admitted student with an admission number.
Start a new application
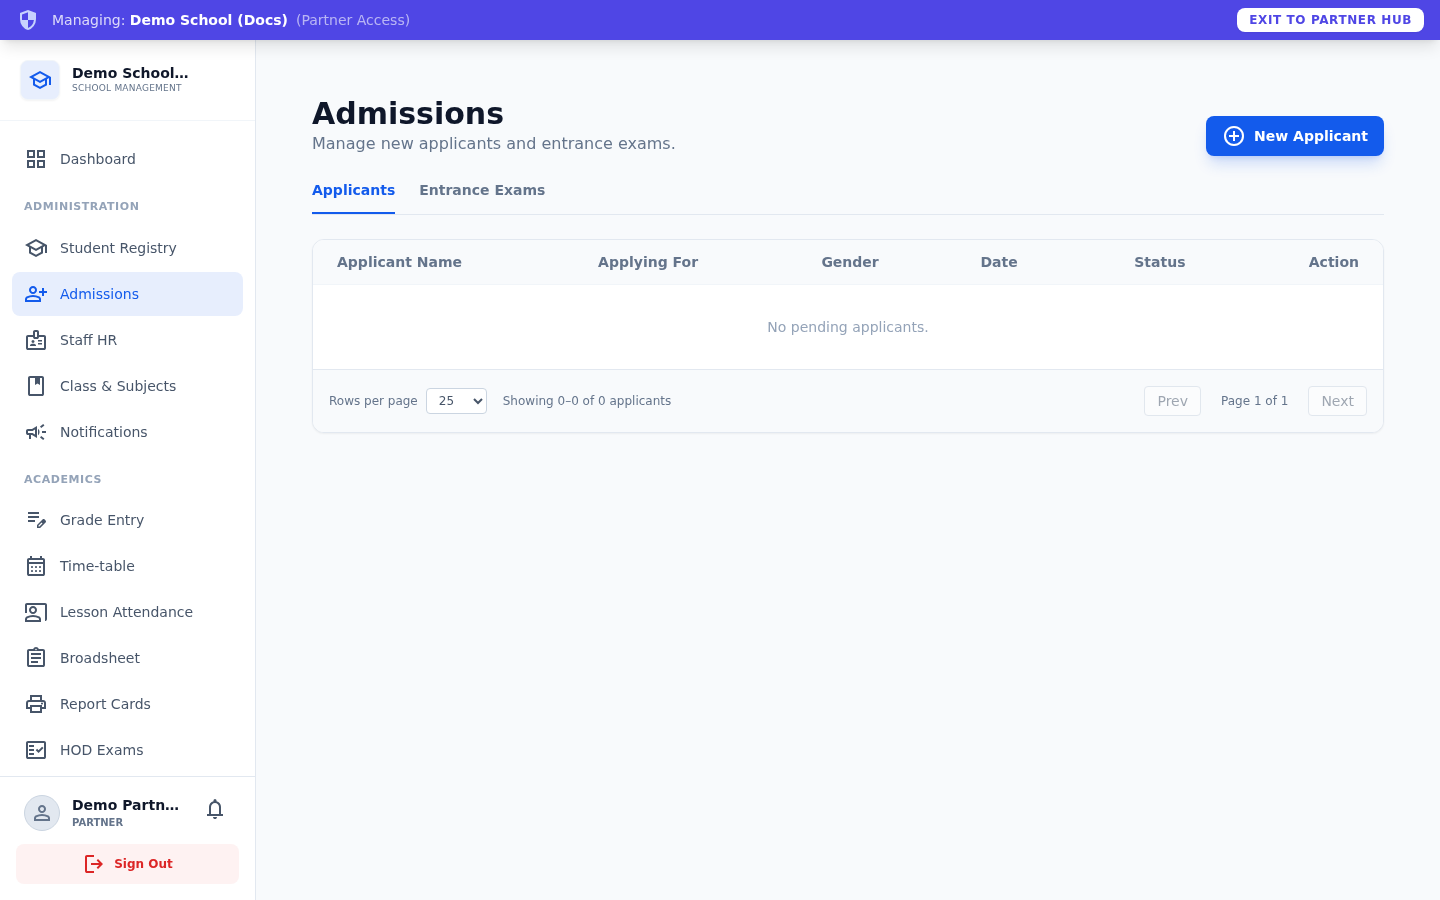
From the Admissions page, click "New Applicant" to open the application wizard — personal details, previous school, parent/guardian contacts, medical info, and the class they're applying for.
Fill in applicant details
The wizard walks through Applicant, Parents, Medical & Class, and a final Review step before submitting. Required fields are marked with an asterisk.
Move them through the pipeline
Once submitted, an applicant starts as "New". From the list, mark them "Exam Scheduled" once you've booked an entrance exam, record their scores under the Entrance Exams tab, then "Mark Offered" once you've decided to admit them.
Admit the student
Once an applicant is "Offered" or "Accepted", click "Admit" to open the Admit Student modal. Assign their class arm and student type (Day or Boarding), then confirm — this generates an admission number and creates their official Student Registry record and parent account.
Classes & Subjects
Set up your class structure and subjects before you start admitting students — the admissions wizard and grade entry both depend on it.
Add a class
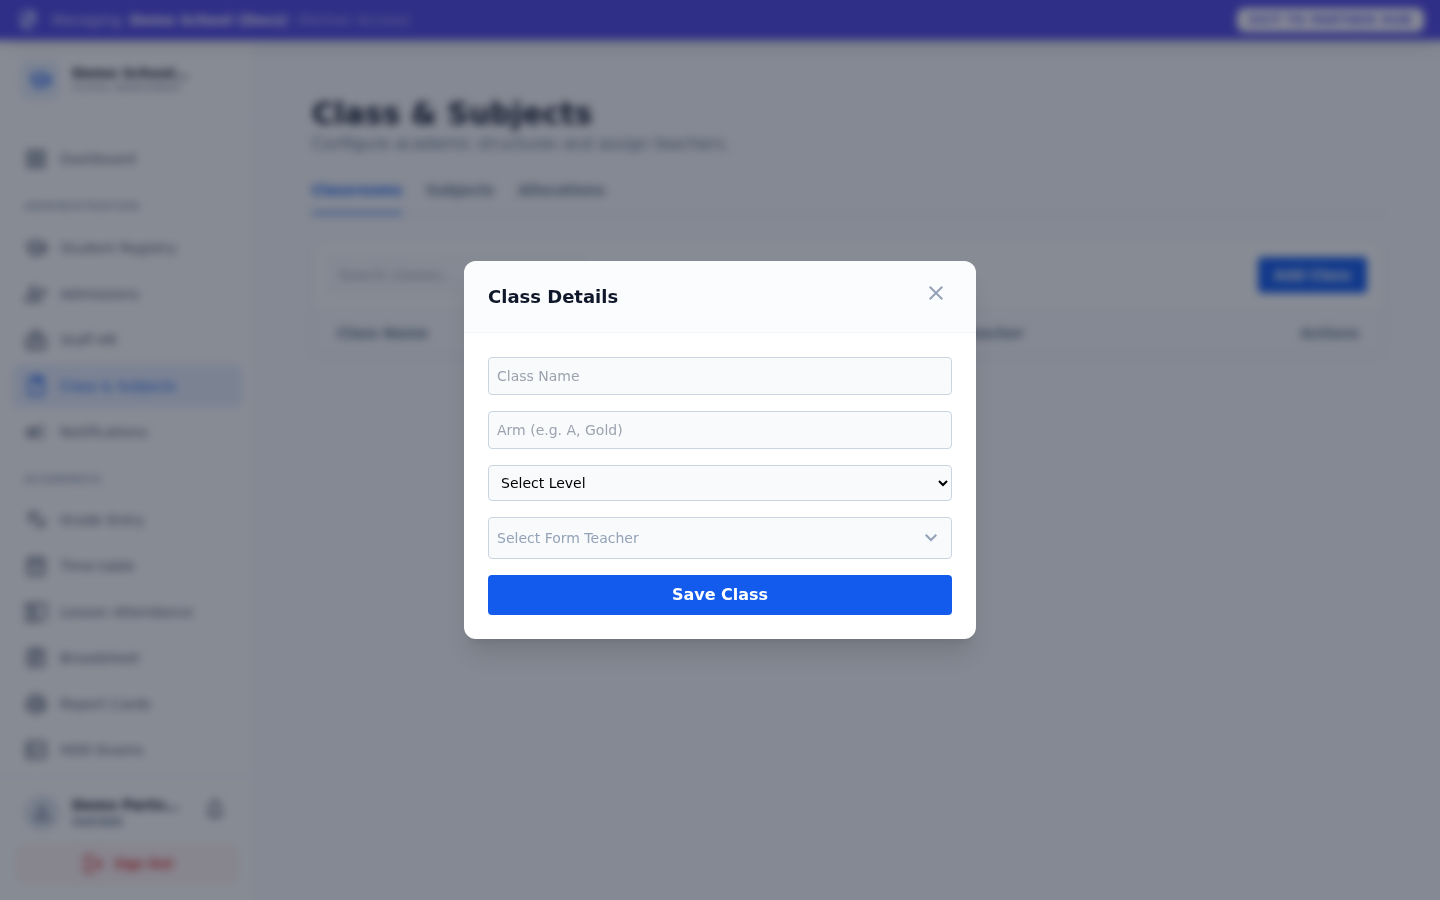
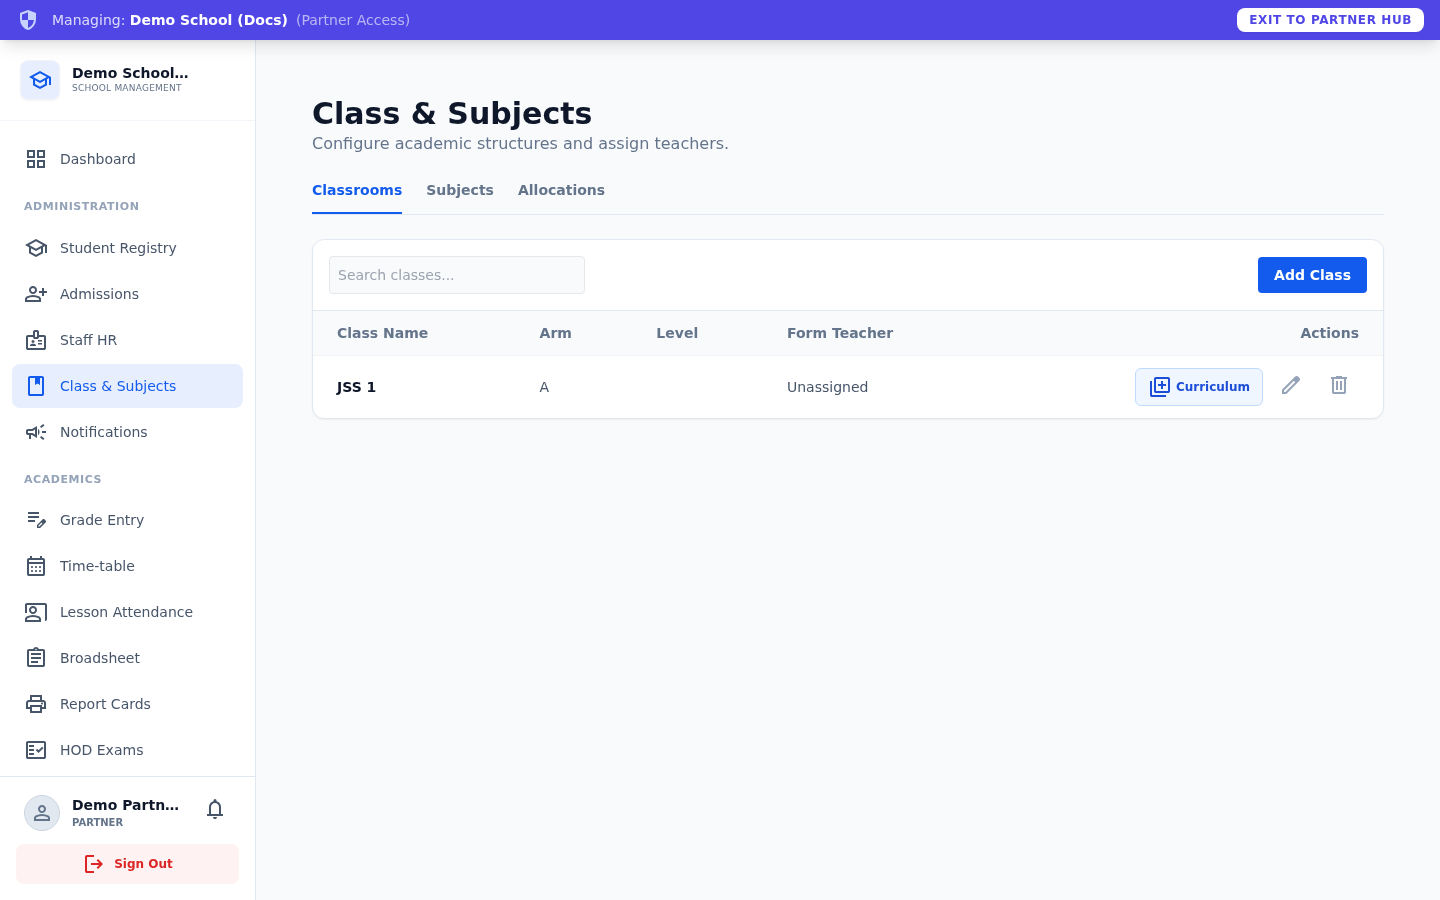
On the Classes page, click "Add Class" and give it a name and arm (e.g. "JSS 1", arm "A"). You can also assign a form teacher and manage its curriculum.
Manage subjects
Switch to the Subjects tab to add and organise the subjects taught across your school, which teachers then use when entering grades.
Student Registry
Every admitted student gets a full profile — academics, attendance, fees, and boarding status all in one place.
Browse and search students
The Students page lists everyone currently enrolled. Open any student to see their academic scores and class position, attendance percentage, fee ledger, and transaction history.
Grades & Reports
Scores flow from teachers, through HOD approval, into a consolidated broadsheet, and finally onto printed report cards.
The pipeline
Teachers enter subject scores on the Grades page. A Head of Department reviews and approves results on the HOD Exams page. Once approved, scores consolidate automatically into the Broadsheet — a full class score sheet — and report cards can be generated and printed from the Reports page.
Bursary
Handle fee invoices and payments, with Paystack integration for online payment collection.
Manage fees and payments
The Bursary page is where you generate invoices, record payments, and track each student's balance — Paid, Partially Paid, or Overdue.
Settings
Configure your school's profile, academic terms, grading scheme, and which modules are enabled.
Configure your school
The Settings page covers your school profile, current term/session, grading configuration, and more — most of it self-explanatory, but worth a look before your first term starts.